Quick Start
-
Start AMF from a normal shell or an existing tmux session:
amf -
On first launch, choose the agent CLIs you want AMF to use. AMF checks that each selected CLI is installed. You can reopen this setup later with
A. -
Press
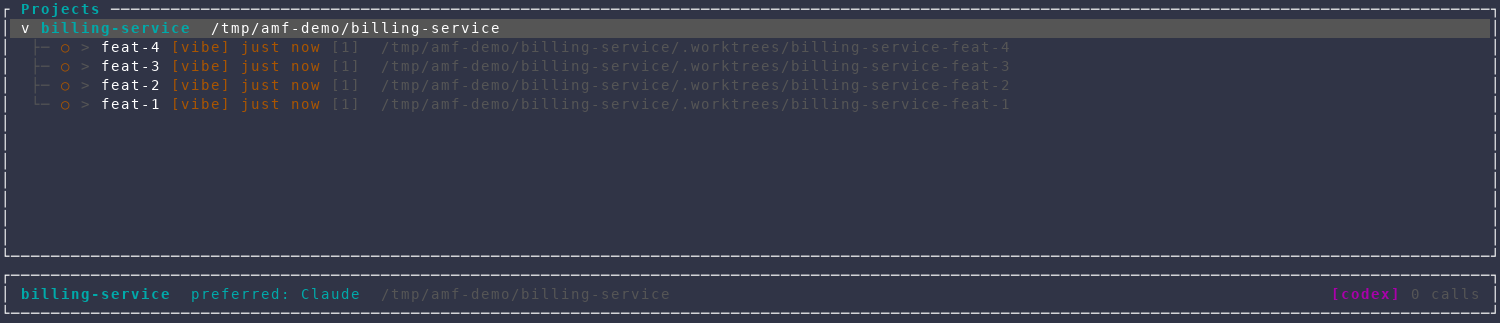
Nto add a project, then enter its name and directory. The directory may be a git repository or an ordinary folder. -
Press
nto create a feature. Choose a branch name, agent, permission mode, and whether to use the guided plan interview. The feature starts when setup is complete. -
Select the agent session and press
Enterto work in its embedded terminal. PressCtrl+Qto return to the dashboard. -
Press
son a feature to add another agent, terminal, editor, TODO list, or custom session.
Press ? at any time on the dashboard to see the complete, current
keybinding reference.